
Window Tinting Step by Step for Flawless Results
- optyxautostudio
- Jan 11
- 9 min read

Luxury car owners across Spokane and nearby Idaho know how much a flawless window tint elevates both appearance and comfort. Every year, over 80 percent of American luxury car enthusiasts invest in professional tinting to protect their interiors from harsh UV rays. Achieving that perfect result depends on careful preparation, expert technique, and a commitment to pristine detail that only high-end service provides.
Table of Contents
Quick Summary
Key Point | Explanation |
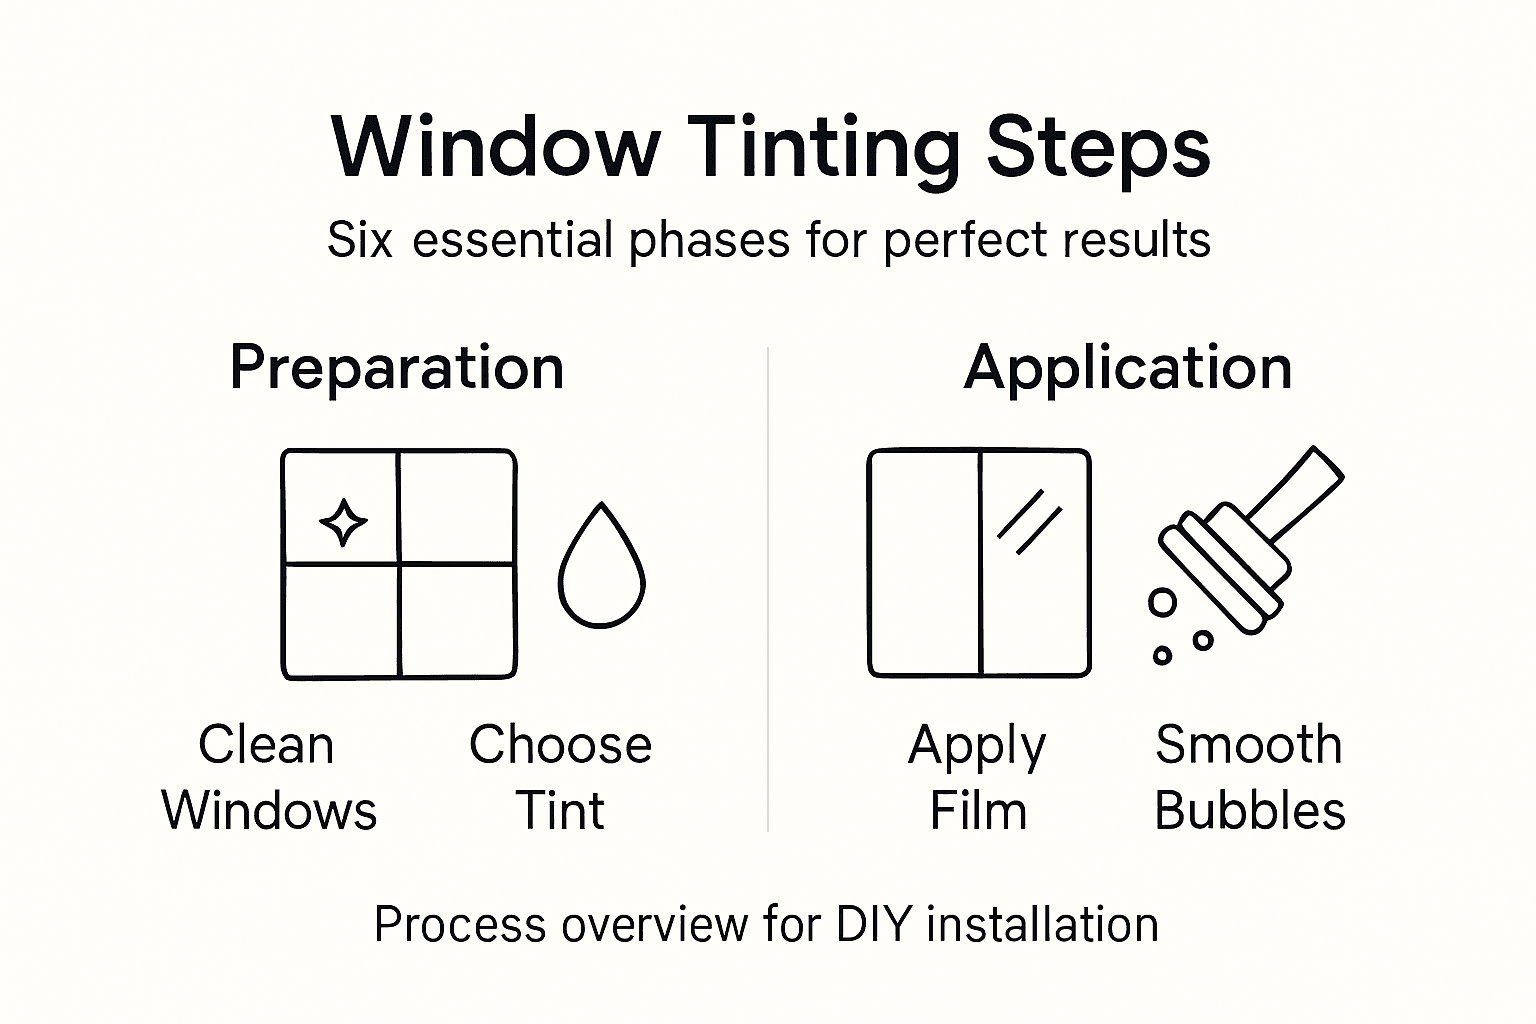
1. Clean the Vehicle Thoroughly | Ensure windows are free from dirt, dust, and residues to achieve proper tint adhesion and a flawless look. |
2. Choose the Right Film | Assess your specific needs, including UV protection and legal restrictions, for effective window tinting. |
3. Use Slip Solution During Application | Create a mixed solution with water and baby shampoo to allow easier positioning and adjustment of the tint film. |
4. Check for Installation Flaws | Inspect each window under different lighting to find air bubbles or misalignments before finalizing the job. |
5. Allow Proper Curing Time | Keep windows slightly cracked for 48 hours and refrain from washing to ensure the adhesive bonds correctly. |
Step 1: Prepare the Vehicle and Work Area
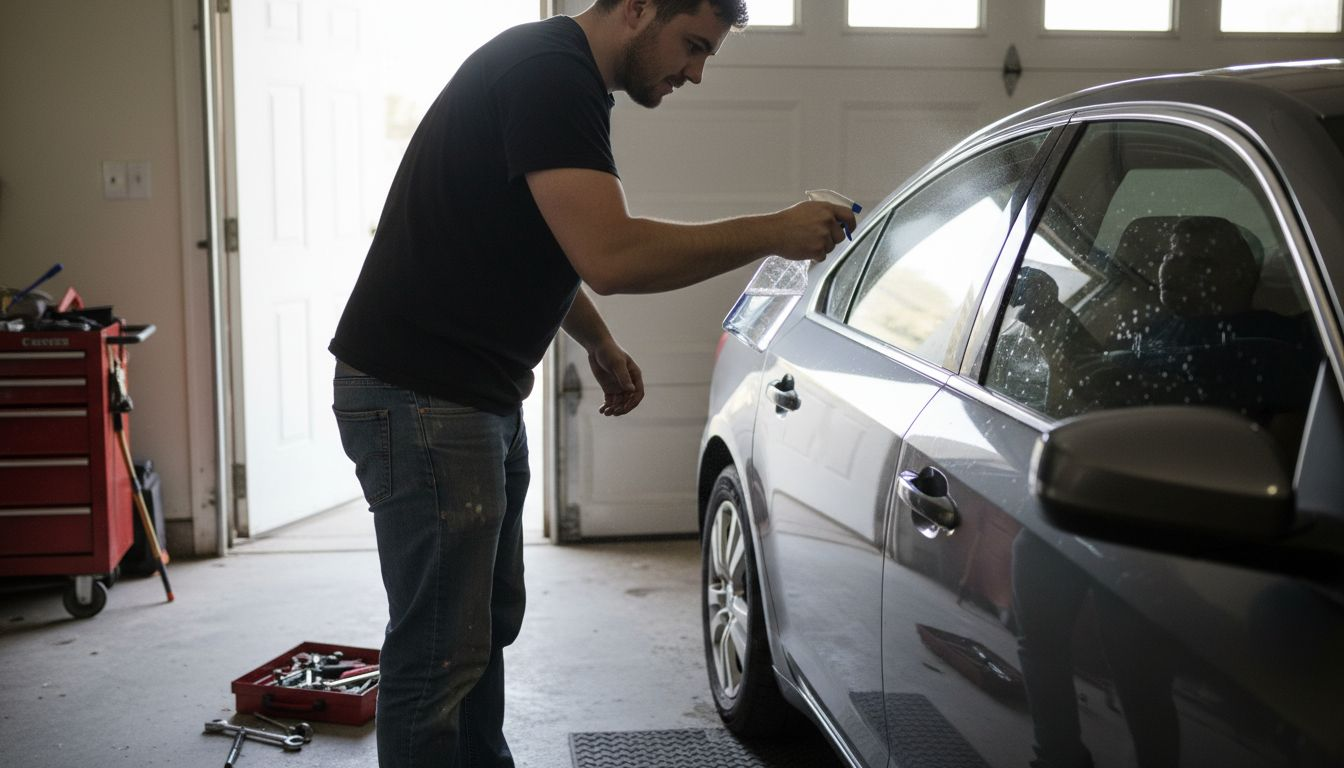
Successful window tinting starts with meticulous vehicle and workspace preparation. A clean, controlled environment is your first defense against imperfections that could ruin your tint job.
Begin by thoroughly washing both the exterior and interior of your vehicle’s windows. Use a professional glass cleaner and lint-free microfiber cloths to remove all dirt, dust, and residue. Window film installation requires pristine surfaces to ensure proper adhesion and a flawless final appearance. Pay special attention to removing any old stickers, adhesive remnants, or debris that might interfere with the tint application.
Next, choose your workspace carefully. You need a dust-free, well-lit area with stable temperature and minimal air movement. An indoor garage or professional detailing bay works best. Cover nearby surfaces to protect them from potential overspray or debris. Ensure the vehicle is completely stationary and secured to prevent any movement during the tinting process.
Pro Tip: Before starting, use a spray bottle with water and a few drops of baby shampoo to help you position the window film more smoothly and reduce static electricity that attracts dust particles.
Step 2: Select and Cut the Tint Film
Selecting the perfect window tint involves more than just grabbing the first roll you see. This critical step determines how well your tint will protect your vehicle and enhance its appearance. Understanding the nuances of window film selection is key to achieving professional results.
Start by evaluating your specific needs. Consider factors like UV protection, heat rejection, legal tint darkness restrictions, and your vehicle’s aesthetic. Professional grade films come in various shades and materials some designed for maximum heat reduction while others focus on privacy or visual appeal. Measure each window precisely using a template or digital measurement tool to ensure accurate cutting. Professional installers typically use specialized cutting plotters or precision knives to create exact window film patterns that minimize waste and maximize coverage.
Here’s a quick overview of common window tint film types and their key features:
Film Type | UV Protection Level | Heat Rejection | Appearance |
Dyed Film | Moderate | Low | Dark/opaque look |
Metalized Film | High | High | Slight reflective |
Ceramic Film | Maximum | Maximum | Natural, non-reflective |
Hybrid Film | High | Moderate | Subtle shading |
Prepare your workspace with a clean flat surface and sharp cutting tools. Lay the tint film carefully on a cutting mat, using a sharp utility knife or professional cutting plotter to trace your window templates. Always cut slightly larger than the window dimensions to allow for minor adjustments during installation. This extra margin provides flexibility when positioning the film and helps prevent gaps or misalignments.
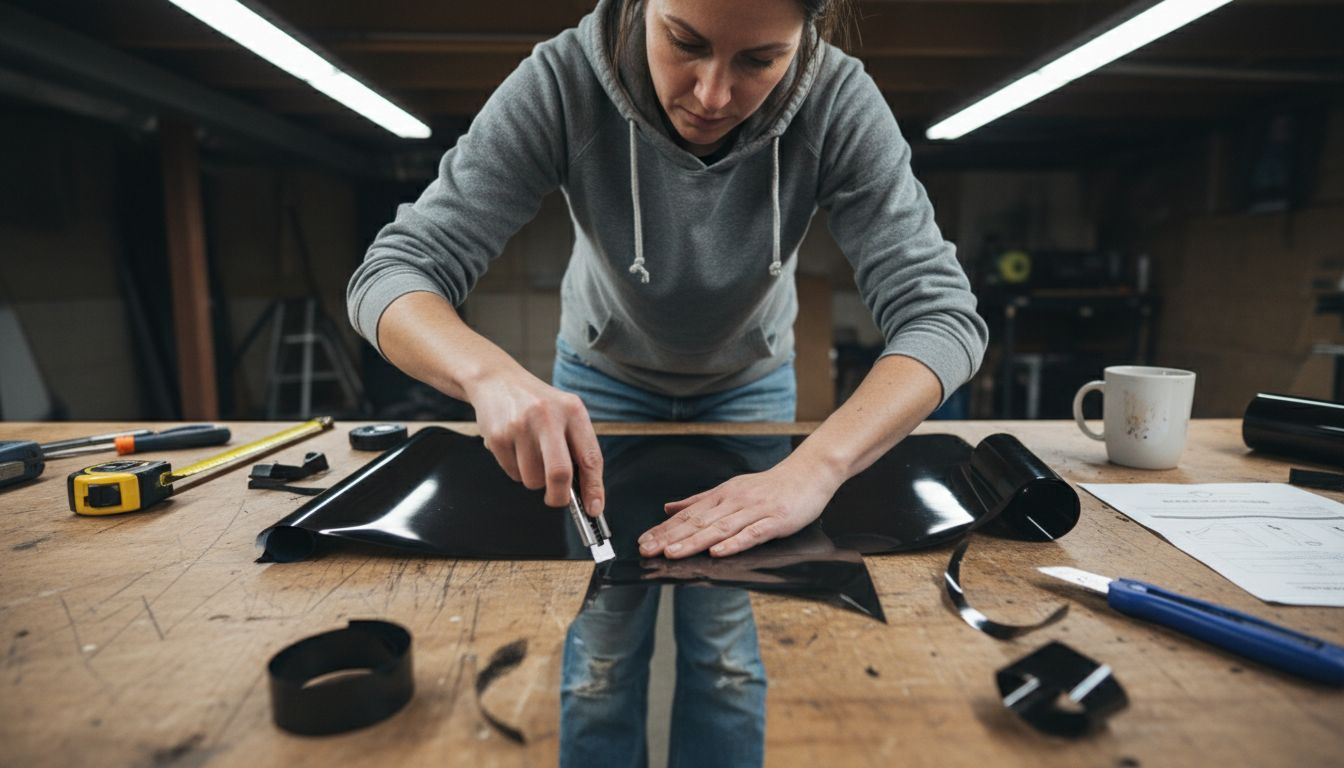
Pro Tip: Keep multiple sharp blades on hand and replace them frequently to ensure clean precise cuts and prevent tearing or jagged edges on your window film.
Step 3: Clean and Prep the Windows
Preparing your vehicle’s windows for tinting requires precision and patience. A flawless window tint installation begins with an immaculate surface that allows perfect film adhesion. Window cleaning protocols are critical to achieving professional results.
Start with a comprehensive cleaning process that goes beyond a simple wipe down. Use a specialized automotive glass cleaner and lint-free microfiber cloths to remove all dirt, oils, and invisible contaminants. Work systematically around each window, using horizontal and vertical strokes to ensure complete coverage. Pay special attention to window edges, corners, and rubber seals where grime tends to accumulate. After initial cleaning, use a razor blade at a 45-degree angle to carefully scrape away any remaining debris or stubborn residue. This technique helps eliminate microscopic particles that could interfere with tint adhesion.
Create a final cleaning solution by mixing distilled water with a few drops of mild dish soap. Spray the solution lightly on the glass and use a clean microfiber cloth to make a final pass. Dry the windows completely using fresh lint-free cloths, ensuring no moisture or cleaning solution remains. Your goal is a crystal-clear, completely dry surface that will allow the tint film to adhere smoothly and bubble-free.
Pro Tip: Work in a dust-free environment and wear clean cotton gloves to prevent transferring skin oils back onto the freshly cleaned glass surface.
Step 4: Apply and Position the Tint Film
Applying window tint film is a delicate process that requires patience and precision. One wrong move can ruin hours of careful preparation. Window film positioning demands expert technique and a steady hand.
Begin by creating a slip solution using distilled water and a few drops of baby shampoo. This solution allows you to slide and adjust the film without immediate adhesion. Spray the solution generously on both the window surface and the adhesive side of the tint film. Carefully lift the film and position it on the inside of the window, starting from the top and working downward. Use a soft squeegee to gently press out air bubbles and excess solution, working from the center outward in smooth strokes.
For curved windows, you may need to use a heat gun to help the film conform to the glass contours. Work slowly and methodically, keeping the film taut and smooth. Use a sharp utility knife to trim excess film around the window edges, leaving a small margin for final adjustments. Take your time during this stage the quality of your positioning will determine the final appearance of your window tint.
Pro Tip: Work in a well-lit area and use a spray bottle with filtered water to help you see air bubbles more clearly during the application process.
Step 5: Smooth Out and Finish the Installation
The final stages of window tinting are where your precision and patience truly pay off. This crucial phase transforms a good tint job into an exceptional one. Finishing techniques require careful attention to achieve a professional result.
Carefully use a soft rubber squeegee to methodically push out any remaining water bubbles and air pockets. Work from the center of the window outward using smooth consistent strokes. Apply gentle but firm pressure to ensure the film adheres evenly without creating new wrinkles or bubbles. For curved or complex window surfaces, use a heat gun set at a low temperature to help the film conform perfectly to the glass contours. Move the heat gun slowly and consistently to avoid overheating or damaging the film.
This table summarizes challenges and solutions for flawless tint installation:
Challenge | Potential Impact | Recommended Solution |
Dust on windows | Poor film adhesion | Clean with lint-free cloths |
Air bubbles | Visible imperfections | Use soft squeegee, slip solution |
Misaligned edges | Amateur appearance | Precise cutting and trimming |
Film not conforming | Wrinkles/bubbling | Use heat gun for curved surfaces |
Trim the edges of the film with a precision utility knife, ensuring a clean cut that follows the window seal exactly. Pay special attention to window corners and edges, where precise trimming can make the difference between an amateur and a professional installation. Allow the tint to cure completely by keeping the windows slightly cracked and avoiding washing the vehicle for at least 48 hours. This curing period helps the adhesive bond fully and prevents premature peeling or bubbling.
Pro Tip: Check the tint installation in different lighting conditions to ensure no missed bubbles or imperfections remain hidden.
Step 6: Inspect and Ensure Quality Results
After completing your window tint installation, a thorough quality inspection becomes your final checkpoint for professional results. Window film inspection ensures lasting performance and catches any potential issues before they become permanent problems.
Carefully examine the entire window surface in different lighting conditions. Look for subtle signs of imperfection such as tiny air bubbles, microscopic dust particles, edge misalignments, or uneven film adhesion. Use natural daylight and indoor lighting to reveal any hidden flaws that might not be immediately apparent. Check each window systematically starting from the top corners and working your way down. Pay special attention to window edges and corners where tint film is most likely to show installation inconsistencies.
Verify that the tint meets local legal requirements for darkness and reflectivity. Use a tint meter if available to confirm compliance with regional regulations. Test the film’s adhesion by gently pressing around the edges and observing whether the film remains smooth and firmly attached. Allow the tint to continue curing for several days after installation and perform periodic checks to ensure the film settles correctly without developing unexpected wrinkles or separation.
Pro Tip: Wait at least one week after installation before making any final judgments about the tint quality to allow complete adhesive curing and settling.
Achieve Flawless Window Tinting with Expert Precision and Premium Protection
The challenge in achieving perfect window tinting lies in meticulous preparation, precise application, and using quality materials that guarantee long-lasting results. If you have experienced frustration from bubbles, dust, or uneven edges during tint installation, you understand how essential professional-grade solutions are. At Optyx Auto Studio, we specialize in overcoming these pain points through expert ceramic window tinting that combines superior UV protection, clarity, and aesthetic appeal.

Transform your vehicle with certified installers who apply top-tier films using precise cutting and positioning techniques to minimize visible edges and ensure a flawless finish. Experience the confidence that comes from trusting a team with over 35 years of experience dedicated to both enhancing your vehicle’s look and securing its protection. Don’t settle for anything less than perfect. Visit Optyx Auto Studio today to explore our premium services and schedule your personalized upgrade that delivers durability, style, and peace of mind.
Frequently Asked Questions
How do I prepare my vehicle and workspace for window tinting?
Successful window tinting requires a clean and controlled environment. Start by washing both the exterior and interior windows of your vehicle with a professional-grade glass cleaner and lint-free microfiber cloths. Ensure the workspace is dust-free, well-lit, and stable to prevent any movement during the installation.
What factors should I consider when selecting window tint film?
When selecting window tint film, evaluate your needs based on UV protection, heat rejection, legal tint darkness limits, and appearance preferences. Measure the windows accurately, and consider different film types like dyed, metalized, or ceramic based on their specific features before making your choice.
How can I ensure my windows are clean and prepped before applying tint film?
For the best adhesion, clean the windows thoroughly with an automotive glass cleaner and lint-free cloths. After your initial cleaning, scrape away any stubborn residue with a razor blade at a 45-degree angle, then do a final clean using a distilled water and mild dish soap solution to achieve a crystal-clear surface.
What is the best technique for applying and positioning the tint film?
Begin by creating a slip solution with distilled water and baby shampoo for easy positioning. Spray the slip solution on both the window and film adhesive side, then carefully place the film on the window from the top down, using a squeegee to smooth out air bubbles and excess solution from the center outward.
How do I finish the window tinting installation for a flawless look?
To finish, use a soft rubber squeegee to push out any remaining water bubbles and air pockets from the center of the window outward. Trim the film edges carefully with a utility knife, ensuring a clean cut that follows the window seal, and allow the tint to cure completely before washing the vehicle.
What steps should I take to inspect the quality of my window tint?
After installation, inspect the window tint for imperfections in various lighting conditions. Look for air bubbles, dust particles, and edge misalignments, and use a tint meter to check if it meets local legal requirements. Wait at least one week after installation to gauge the final results, allowing time for full adhesive curing.
Recommended


Comments