
Paint Protection Film Installation Guide for Flawless Results
- optyxautostudio
- Jan 14
- 8 min read

Most American luxury vehicle owners in Spokane and Idaho know that even a single road trip can expose a flawless finish to flying debris and harsh weather. A high-quality paint protection film can dramatically reduce repair costs and preserve showroom shine. With expert installation, you maintain both your investment value and the elegant aesthetics that set your car apart. Discover how each precise step makes all the difference in results trusted by discerning vehicle owners.
Table of Contents
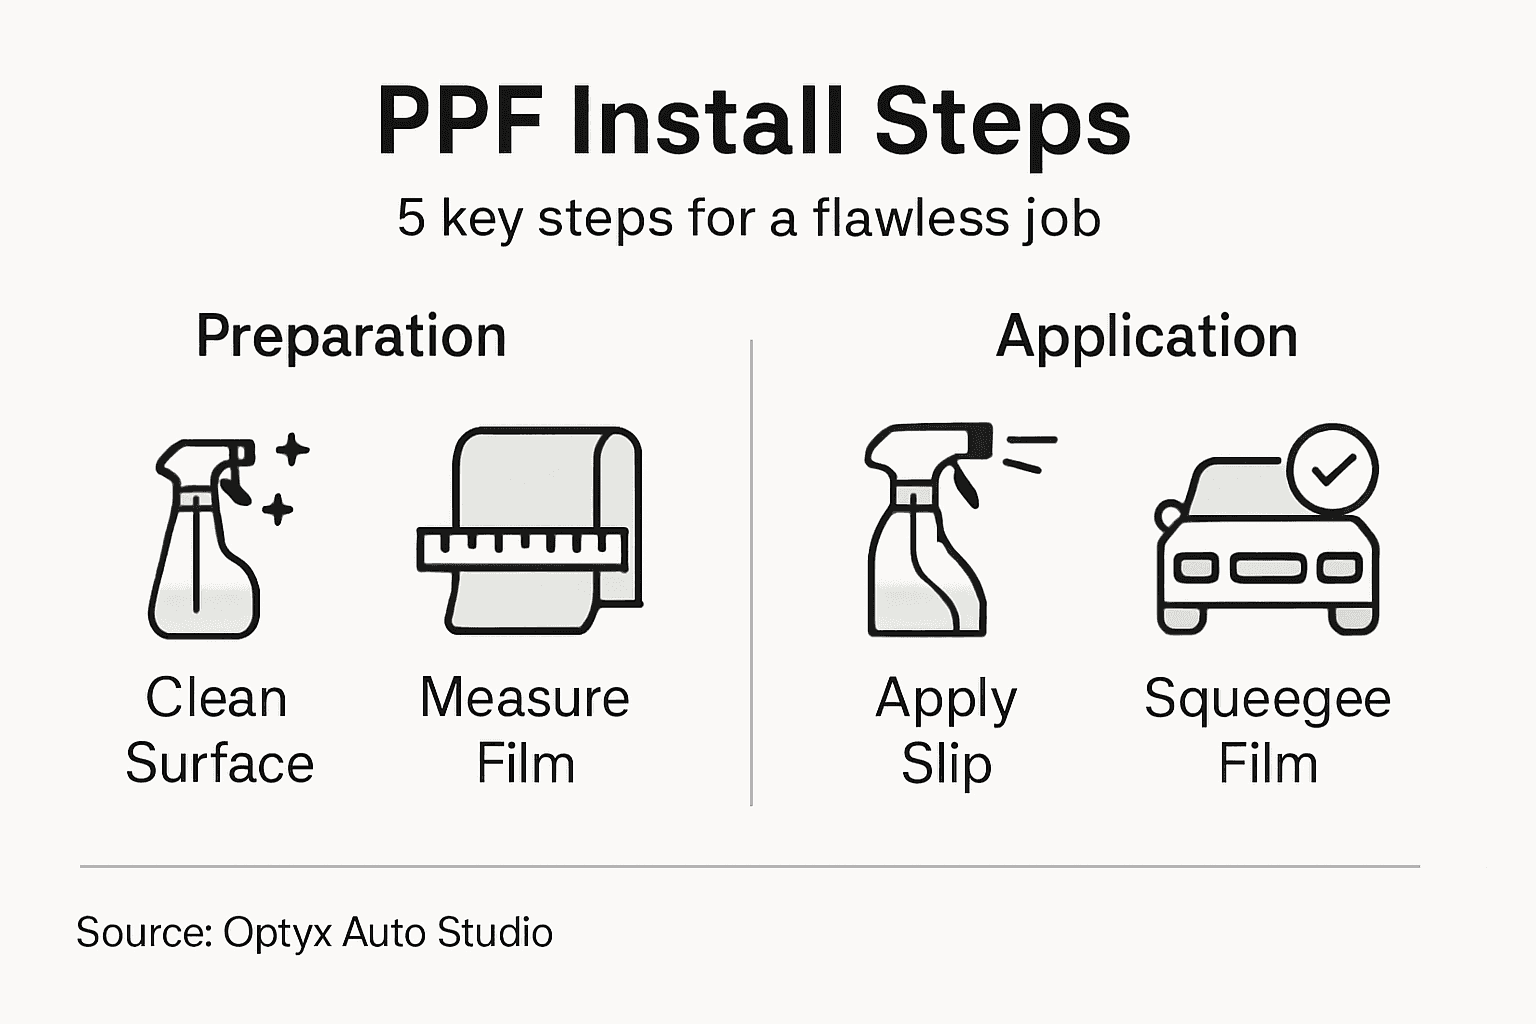
Quick Summary
Key Point | Explanation |
1. Thorough Surface Preparation | Clean the vehicle’s surface meticulously to ensure proper film adhesion and avoid imperfections. |
2. Accurate Measurement Techniques | Use professional tools to create accurate templates, adding margins for stretching and tucking. |
3. Effective Slip Solution Use | Mix a suitable slip solution for proper film placement and to minimize installation errors. |
4. Precise Squeegee Techniques | Apply consistent pressure while squeegeeing to seal the film without bubbles or distortion. |
5. Final Inspection and Trimming | Examine the film under various lights, trimming excess film for a seamless appearance and optimal adhesion. |
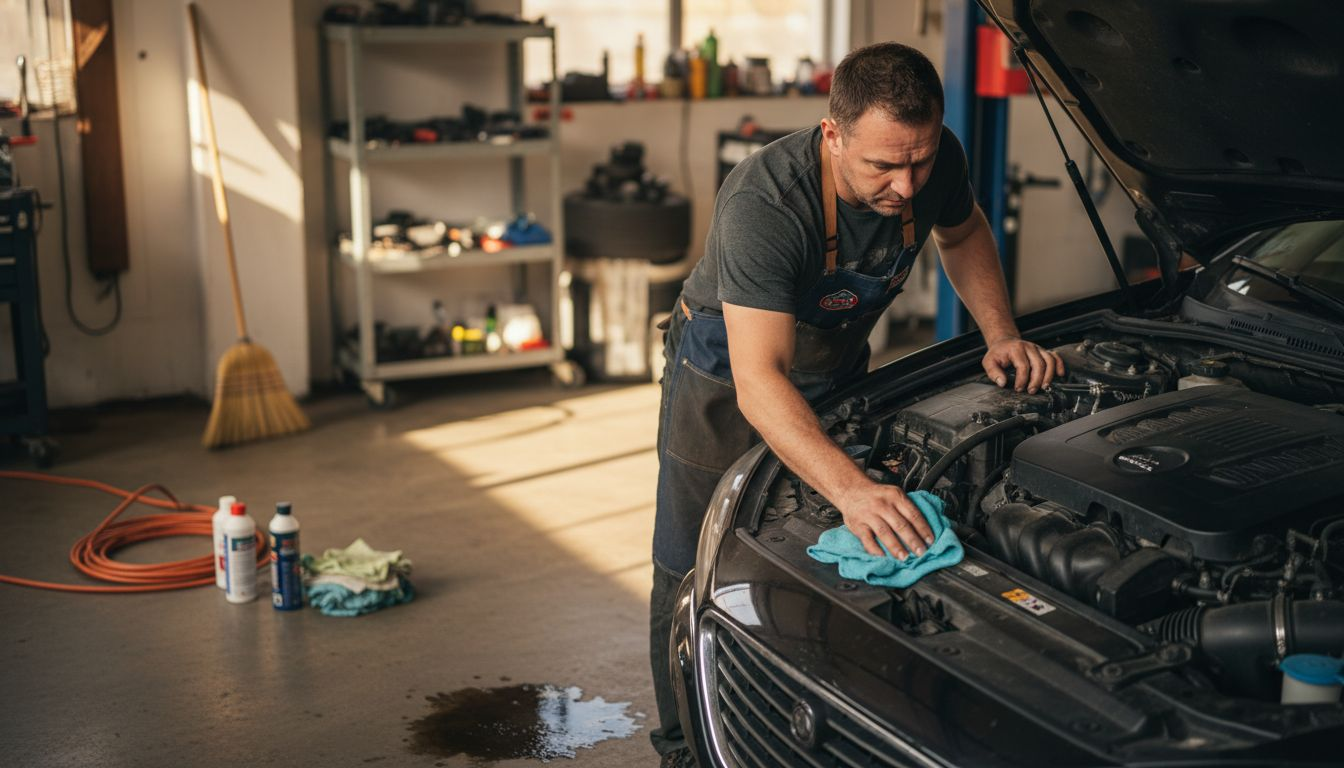
Step 1: Prepare the Vehicle Surface Thoroughly
Ensuring a pristine surface is crucial for achieving a flawless paint protection film installation. Before applying any protective film, your vehicle needs thorough preparation that goes far beyond a simple car wash.
Start by performing a comprehensive cleaning process using specialized automotive detailing products. Begin with a high-quality car wash soap that removes surface contaminants without leaving residue. Next, use a clay bar to extract embedded particles like industrial fallout, tree sap, and microscopic metal fragments that standard washing cannot eliminate. This step creates a smooth canvas for film adhesion. After clay barring, perform a detailed inspection under bright lighting to identify any remaining imperfections like small scratches or oxidation spots.
Professional installers recommend a final surface decontamination using an isopropyl alcohol solution to remove any remaining wax, oils, or polish residues that could interfere with film adhesion. This critical step ensures maximum bonding and prevents potential bubbling or lifting of the protective film. Carefully wipe down each panel systematically, using lint-free microfiber towels to prevent introducing new contaminants.
Pro tip: Always work in a clean, dust-free environment with consistent temperature to optimize paint protection film application results.
Here’s a quick summary of essential tools and their roles during paint protection film installation:
Tool Name | Primary Use | Recommended Feature |
Clay Bar | Removes embedded contaminants | Fine grade, easy to knead |
Microfiber Towel | Wipes and dries surfaces | Lint-free, high absorbency |
Craft Knife | Cuts protection film accurately | Sharp blade, ergonomic grip |
Squeegee | Smooths and bonds film | Soft felt edge, flexible |
Heat Gun | Conforms film to complex shapes | Adjustable temperature |
Step 2: Measure and Cut the Paint Protection Film
Measuring and cutting paint protection film requires precision and skill to ensure a perfect fit for your vehicle. Accurate measurement techniques are essential to minimize waste and achieve a professional installation.
Begin by creating detailed templates of each vehicle panel using professional grade vinyl wrap measuring tools or specialized computer plotters. Carefully trace the exact contours of areas like the hood, fenders, side mirrors, and front bumper. Most professional installers use digital templates that can be adjusted for specific vehicle makes and models, which eliminates guesswork and reduces material waste. When measuring, always add a small margin of excess film about 0.5 to 1 inch around each panel to allow for proper stretching and tucking during installation.
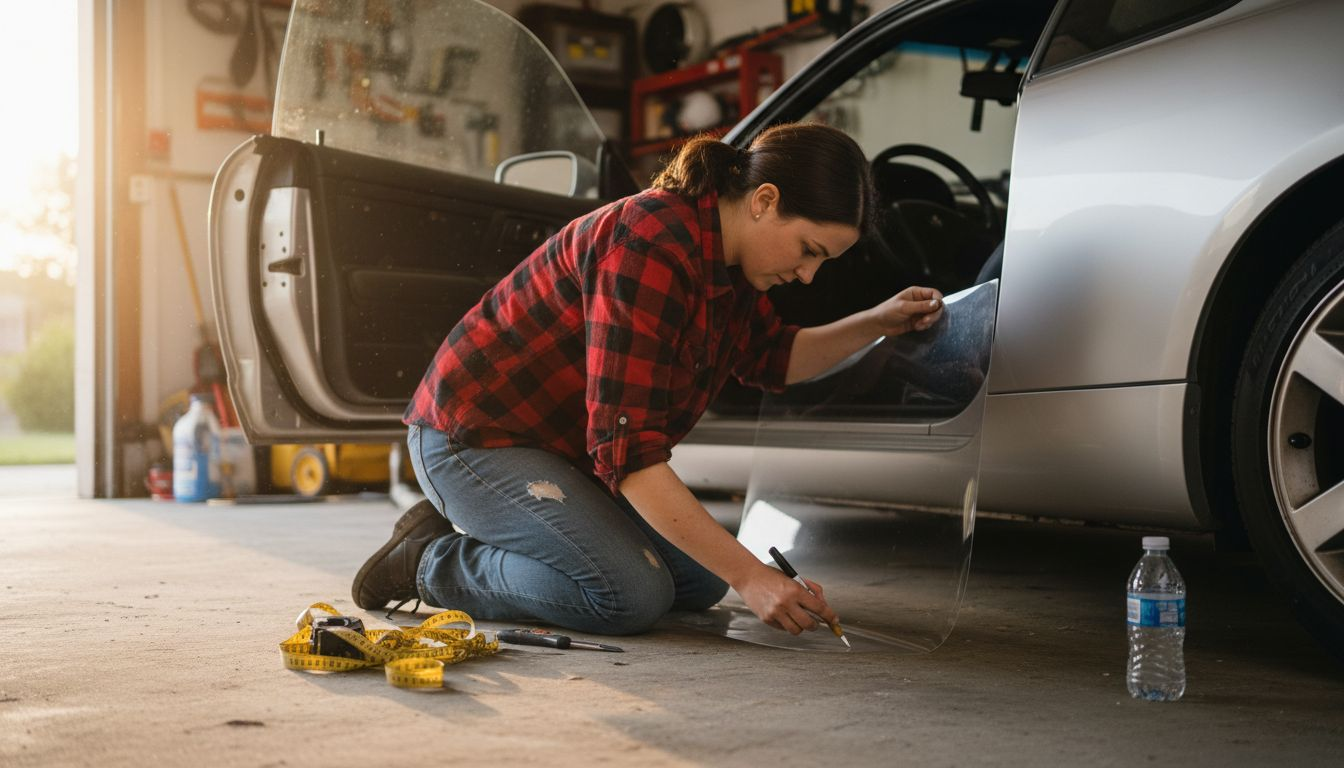
Utilize high-quality cutting tools like precision craft knives with fresh blades, cutting mats, and straightedges to ensure clean and accurate cuts. Work on a clean, flat surface with excellent lighting to help you see every detail. Make deliberate, slow cuts following your template lines precisely, rotating the film as needed to maintain accuracy. Remember that each cut determines how well the film will conform to your vehicle’s specific shape.
Pro tip: Practice your cutting technique on scrap film pieces first to develop muscle memory and confidence before working on expensive paint protection film.
Step 3: Apply the Slip Solution and Position the Film
Applying the slip solution is a critical step that determines the quality and precision of your paint protection film installation. Proper slip solution techniques enable smooth film placement and minimize potential installation errors.
Prepare your slip solution by mixing a few drops of automotive specific surfactant with distilled water in a clean spray bottle. The solution should be light enough to allow film movement but not so slippery that it prevents control. Spray a fine mist evenly across both the vehicle surface and the adhesive side of the paint protection film. This creates a temporary lubrication that allows you to slide and position the film precisely without immediate adhesion.
Carefully align the film over the target panel, starting from one edge and working methodically across the surface. Use a gentle squeegee motion to eliminate air pockets and excess solution, working from the center outward in smooth overlapping strokes. Pay close attention to curved surfaces and panel edges, ensuring the film follows the contours without stretching or creating wrinkles. Take your time during positioning letting the slip solution provide the flexibility needed for perfect alignment.
Pro tip: Work in a controlled environment with consistent temperature and minimal dust to prevent contamination during the slip solution application process.
Step 4: Secure the Film Using Squeegee Techniques
Securing the paint protection film requires precise squeegee techniques that can make or break your entire installation. Professional squeegee application methods are essential for achieving a flawless finish without bubbles or imperfections.
Start by selecting a high-quality professional squeegee with a soft felt edge that will not damage the film. Hold the squeegee at a 45-degree angle and apply consistent but gentle pressure. Begin from the center of the panel and work outwards in overlapping, smooth strokes. This technique helps push out trapped air and excess slip solution systematically. Focus on maintaining even pressure and avoiding aggressive movements that could stretch or tear the film. Pay extra attention to edges and complex curves, using lighter pressure in these areas to prevent potential film distortion.
As you progress, periodically check your work by looking at the film from different angles and under various lighting conditions. Look for any remaining air bubbles or solution pockets that might require additional attention. If you encounter stubborn air bubbles, use a pin to create a tiny release point and then carefully squeegee the area again. The goal is to create a smooth, seamless bond between the film and vehicle surface.
Pro tip: Invest in a heat gun or professional-grade heat tool to help activate the film’s adhesive and improve overall conformity in challenging areas.
Step 5: Inspect and Finish for a Seamless Appearance
The final stage of paint protection film installation demands a meticulous eye for detail and precision. Professional film inspection techniques are crucial for ensuring a flawless protective layer that looks as good as it performs.
Begin your final inspection by examining the film under different lighting conditions. Natural daylight provides the best perspective for identifying subtle imperfections like tiny air bubbles, edge lifting, or uneven stretching. Use a heat gun carefully to help the film conform to complex curves and panel edges. Apply gentle heat while simultaneously using your squeegee to smooth out any remaining minor irregularities. Focus on panel transitions and areas with complex geometries like side mirrors, door handles, and curved fenders where the film needs to stretch and conform perfectly.
Trim any excess film using precision cutting tools, ensuring clean edges that blend seamlessly with the vehicle surface. Work slowly and methodically, using a sharp blade at a 45-degree angle to create nearly invisible edges. After trimming, perform a final pass with a heat gun to activate the adhesive and help the film settle into its final position. Run your fingers gently along the edges to confirm a smooth transition between the film and the vehicle surface.
Pro tip: Wait 48 to 72 hours after installation before washing your vehicle to allow the paint protection film adhesive to fully cure and bond.
This table compares common challenges versus solutions for paint protection film application:
Challenge | Solution Approach |
Air bubbles | Squeegee outward or release with pin |
Dust contamination | Maintain dust-free workspace |
Film wrinkles | Use slip solution, then reposition |
Poor film adhesion | Clean surface with isopropyl alcohol |
Visible edges | Trim carefully and heat to blend |
Protect Your Investment with Expert Paint Protection Film Installation at Optyx Auto Studio
Achieving a flawless paint protection film installation involves meticulous surface preparation, precise measurement, and expert application techniques to avoid common challenges like air bubbles, wrinkles, and poor adhesion. If you want to preserve your vehicle’s pristine finish while enhancing its durability you need a trusted partner who understands these critical steps and delivers guaranteed results. At Optyx Auto Studio, our certified installers specialize in premium paint protection film services using top-tier products and exacting application methods that minimize visible film edges and ensure long-lasting protection.
Discover the difference of professional-grade automotive protection by choosing Optyx Auto for your vehicle enhancement needs. Visit our website to learn more about our comprehensive range of services including paint protection film, ceramic coatings, and custom styling options. Don’t wait until costly damage occurs protect your car today with expert care from Optyx Auto Studio. Start your upgrade journey now by exploring our full service lineup at Optyx Auto Studio and secure flawless results you can trust.
Frequently Asked Questions
What is the first step in the paint protection film installation process?
Ensuring a pristine vehicle surface is the first step for a successful paint protection film installation. Thoroughly clean the vehicle using specialized automotive detailing products, and perform a thorough inspection of the surface before moving on to the next steps.
How should I measure and cut the paint protection film properly?
Begin by creating detailed templates of each vehicle panel and allow a margin of excess film for stretching. Use precision cutting tools on a clean, flat surface to achieve accurate cuts based on your templates, which will help ensure a proper fit during installation.
What do I need to prepare my slip solution for applying the film?
To create your slip solution, mix a few drops of an automotive-specific surfactant with distilled water in a spray bottle. This solution should be light enough for film movement but viscous enough to maintain control during the positioning of the film on the vehicle.
How can I effectively secure the paint protection film using squeegee techniques?
Apply gentle but consistent pressure while holding the squeegee at a 45-degree angle. Begin from the center of the panel and work your way outward to eliminate air pockets and excess solution, ensuring a smooth bond.
What should I inspect after applying the paint protection film?
After installation, inspect the film under various lighting conditions for imperfections like air bubbles or lifting edges. Utilize a heat gun carefully to activate adhesive and ensure proper conformance to complex shapes, addressing any irregularities as needed.
How long should I wait before washing my vehicle after paint protection film installation?
It’s important to wait 48 to 72 hours after installation before washing your vehicle. This waiting period allows the adhesive to fully cure and bond, ensuring optimal protection for your vehicle’s surface.
Recommended


Comments