
Master the Car Paint Correction Method for a Flawless Finish
- optyxautostudio
- Jan 12
- 9 min read

More than 80 percent of premium vehicles in American cities like Spokane show signs of paint damage after just three years on the road. For local car enthusiasts and luxury vehicle owners, faded color and swirl marks can take away from the visual appeal and value of your investment. Restoring your vehicle’s finish not only preserves a flawless exterior but also adds vital protection. Discover how professional paint correction can give your car a lasting shine, safeguard its integrity, and make it stand out in the Spokane streets.
Table of Contents
Quick Summary
Key Insight | Explanation |
1. Assess Paint Condition | Inspect the vehicle’s paint thoroughly for imperfections to choose the right tools for correction. |
2. Clean and Decontaminate | Use a detailed cleaning process and specialized products to prepare the surface effectively. |
3. Mask Sensitive Areas | Protect vulnerable areas with high-quality masking materials to avoid accidental damage during correction. |
4. Use Appropriate Polishing Techniques | Select the right polishing compound and technique for imperfections, working gradually from less to more aggressive methods. |
5. Apply Protective Coatings | Finish with high-quality protective coatings to maintain the corrected paint’s shine and durability. |
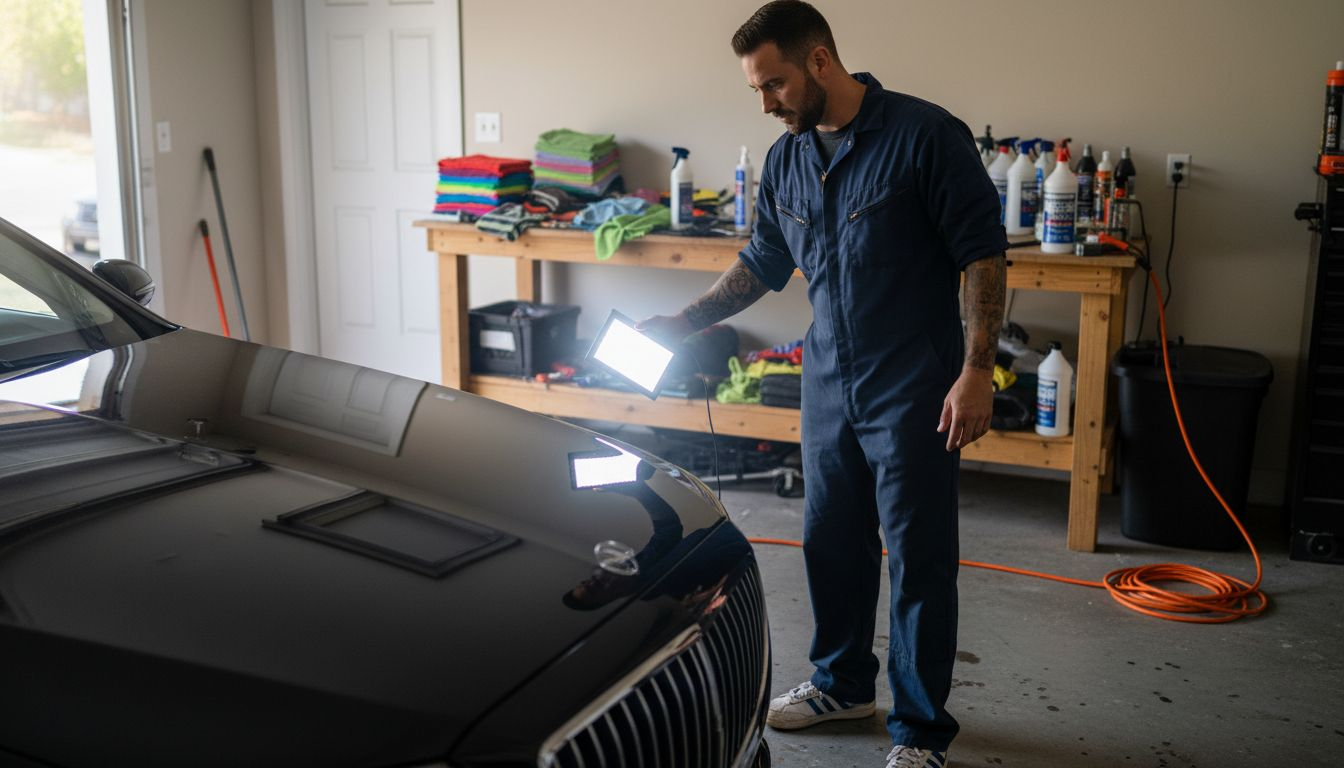
Step 1: Assess paint condition and select tools
Kicking off your car paint correction journey starts with a thorough surface evaluation. Understanding your vehicle’s paint condition will determine the precise tools and techniques required for restoration. Automotive paint systems involve multiple protective layers that can accumulate different types of imperfections over time.
Begin by performing a comprehensive visual and tactile inspection under bright, natural light. Run your hand gently across the surface to detect subtle irregularities like swirl marks, scratches, oxidation, and paint defects. Look for areas with deeper scratches, paint fade, or clear coat damage. Professional detailers often use specialized lighting and even tactile quality assessment techniques to map out surface conditions accurately.
Select your correction tools strategically based on your specific paint damage. For light surface imperfections, microfiber towels and mild polishing compounds work well. More significant scratches might require progressively aggressive sandpaper grades or specialized precision automotive quality tools designed for systematic defect correction. Match your tooling precisely to the paint condition to minimize potential additional damage.
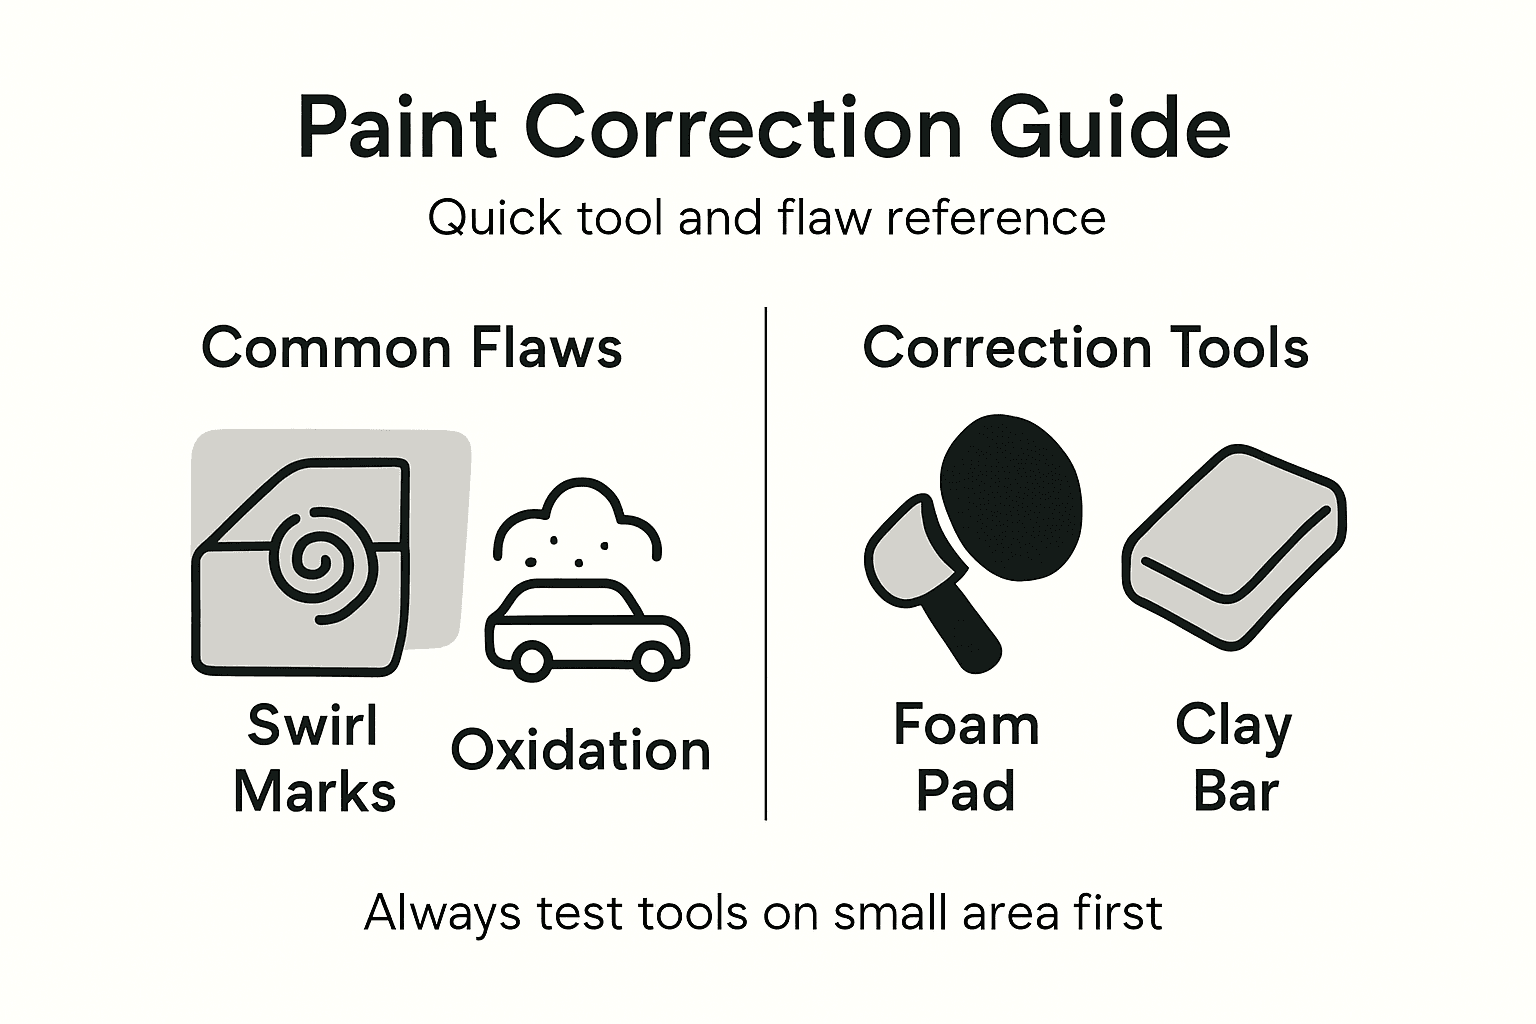
Here’s a concise summary of common paint imperfections and the recommended correction method:
Imperfection Type | Recommended Correction Tool | Typical Location |
Swirl marks | Fine polishing compound | Door panels |
Light scratches | Microfiber pad | Hood, trunk |
Deep scratches | Aggressive compound | Lower body sides |
Oxidation | Dual action polisher | Roof, trunk |
Water spots | Chemical cleaner | Windows, hood |
Pro tip: Invest in a professional paint thickness gauge to accurately measure your vehicle’s clear coat before beginning any correction process to prevent accidental paint removal.
Step 2: Thoroughly clean and decontaminate surface
Preparing your vehicle for paint correction requires a meticulous cleaning process that goes far beyond a typical car wash. Your goal is to create a completely clean surface that eliminates all potential contaminants which could interfere with paint restoration. Proper car washing techniques are critical for protecting your vehicle’s paint during the decontamination process.
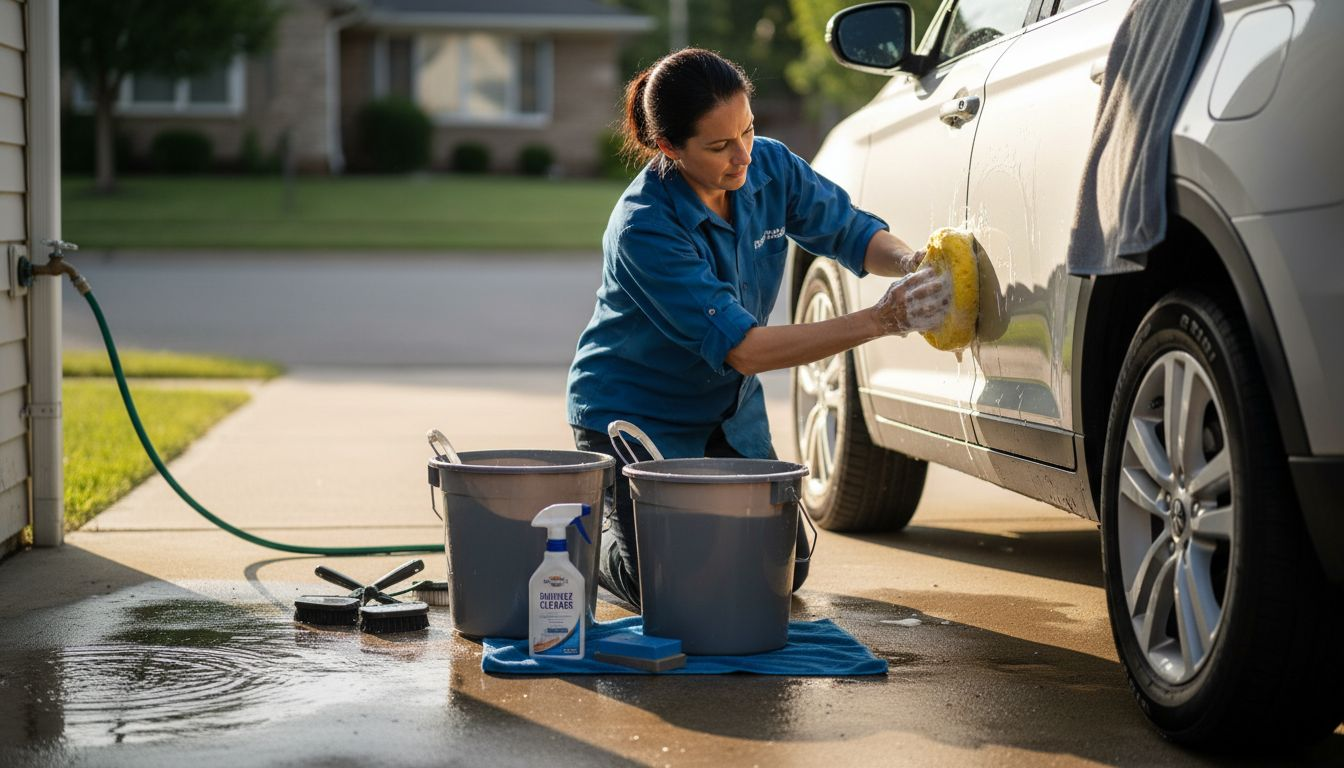
Start by gathering specialized automotive cleaning products designed for paint surfaces. Use a two bucket method with grit guards to prevent dirt transfer creating additional scratches. Begin with a presoak using a high quality car shampoo to break down surface dirt and grime. Work systematically from top to bottom using microfiber wash mitts that are soft and non abrasive. Rinse thoroughly between each section to prevent cross contamination. After the initial wash, use a clay bar to remove embedded contaminants like industrial fallout, tree sap, and microscopic metal particles that regular washing cannot eliminate.
Follow your clay bar treatment with an alcohol based surface cleaner to strip any remaining polishing oils or wax residues. Decontamination procedures require careful chemical neutralization to prepare the surface perfectly for subsequent paint correction steps. Ensure you work in a shaded area with cool surface temperatures to prevent premature product drying and potential surface damage.
Pro tip: Always use separate cleaning materials for wheels and paint surfaces to prevent transferring brake dust and metal contaminants that could cause additional scratching.
Step 3: Mask sensitive areas for safety
Before diving into paint correction, protecting your vehicle’s delicate surfaces is absolutely crucial. Paint protection techniques help prevent accidental damage during the restoration process, ensuring that only the intended surfaces receive treatment. Think of masking as creating a defensive shield around your vehicle’s most vulnerable components.
Begin by gathering high quality automotive masking tape, plastic sheeting, and precision masking tools. Focus on covering areas like rubber seals, trim pieces, headlight and taillight edges, mirrors, and any plastic or chrome surfaces that could be damaged by polishing compounds. Use painter’s tape with clean removal properties to prevent adhesive residue. Apply tape carefully with smooth edges, ensuring complete coverage without leaving exposed areas. Pay special attention to panel gaps, around emblems, and near intricate body lines where accidental contact could cause unintended scratches or chemical exposure.
Carefully inspect your masking work from multiple angles to confirm comprehensive coverage. Occupational safety guidelines recommend thorough surface protection to minimize potential damage during technical restoration processes. Remove any dust or debris from masked areas before beginning paint correction to prevent particles from becoming trapped under the tape.
Pro tip: Use high quality vinyl wrap detailing tape for curved surfaces and precision masking to achieve cleaner lines and better protection during paint correction.
Step 4: Correct imperfections using polishing techniques
Paint correction is an art form that requires precision and understanding of surface polishing principles. Your goal is to systematically remove surface imperfections while preserving the vehicle’s clear coat, transforming a damaged paint surface into a flawless finish. Imagine gradually erasing years of swirl marks and light scratches to reveal your car’s original brilliant shine.
Begin by selecting the appropriate polishing pad and compound based on the severity of surface imperfections. Start with the least aggressive approach first. For light swirl marks, use a soft foam pad with a fine polishing compound. Work in small sections using a dual action polisher, applying moderate and consistent pressure. Move the polisher in overlapping linear passes to ensure uniform coverage. Keep the polisher flat against the surface and maintain a steady speed to prevent burning the paint. Each panel requires methodical attention multiple passes might be necessary to achieve optimal results.
Progress through increasingly refined polishing stages from cutting compounds to finishing compounds. Between each stage, wipe down the surface with a microfiber towel to inspect your progress. Look for improvements in reflection and surface smoothness. Pay special attention to areas with deeper scratches, requiring more targeted and careful treatment. Work in cool temperatures and avoid direct sunlight to prevent compound drying too quickly and potentially causing additional surface damage.
Pro tip: Always test your polishing technique on a small inconspicuous area first to ensure you achieve the desired results without causing unintended paint damage.
Step 5: Inspect results and refine surface
The final stage of paint correction requires a meticulous and critical eye to evaluate the transformation of your vehicle’s finish. Paint inspection standards provide a comprehensive framework for assessing surface quality, ensuring you achieve a professional grade result that goes beyond basic visual appeal.
Begin your detailed inspection by examining the paint surface under multiple lighting conditions. Natural daylight provides the most accurate assessment, but also use bright overhead lights and low angle lighting to reveal any remaining imperfections. Run your hand gently across the surface to feel for smoothness and inconsistencies. Look for uniform reflection, checking each panel systematically to ensure consistent gloss and clarity. Pay special attention to areas with previous deep scratches or oxidation, verifying that the polishing process has effectively leveled the surface without creating new swirl marks or hologram effects.
If you identify any remaining defects, return to the polishing stage using increasingly fine compounds and softer polishing pads. Surface validation techniques recommend incremental refinement to achieve optimal results. Use microfiber towels to periodically wipe down and inspect the surface, comparing different panels to ensure comprehensive and consistent correction. Your goal is a mirror like finish that reflects light uniformly across the entire vehicle surface.
Pro tip: Invest in a professional LED inspection light with multiple color temperatures to reveal subtle paint imperfections that might be invisible under standard lighting conditions.
Step 6: Apply protective coatings for lasting gloss
The final protective layer transforms your meticulously corrected paint surface into a long lasting showpiece. Paint protection films serve as an essential barrier against environmental damage, preserving the flawless finish you have worked hard to achieve.
Carefully select a high quality ceramic coating or paint protection film that matches your vehicle’s specific needs. Clean your surface thoroughly with an alcohol based surface prep solution to remove any remaining polishing residues. Apply the protective coating using microfiber applicators in thin, even layers following manufacturer recommended techniques. Work in a controlled environment with consistent temperature and minimal dust to ensure optimal bonding. Use straight line overlapping motions to create uniform coverage, allowing each layer sufficient curing time between applications.
Pay close attention to the specific curing requirements for your chosen protective coating. Advanced corrosion prevention methods recommend precise application techniques to maximize durability and protection. Some ceramic coatings require specific humidity levels and temperature ranges for optimal performance. After application, avoid washing or exposing the vehicle to moisture for the recommended curing period to ensure maximum bond strength and longevity.
The following table compares popular final protective coating options for car paint correction:
Protection Type | Durability | Appearance | Professional Skill Needed |
Ceramic coating | 2-5 years | High gloss | Moderate |
Paint sealant | 6-12 months | Glossy | Low |
Paint protection film | 5-10 years | Mirror-like | High |
Pro tip: Invest in professional grade application tools and consider having the coating applied by a certified specialist to guarantee perfect installation and maximum protective performance.
Achieve a Flawless Finish with Expert Paint Correction and Protection
Mastering the art of car paint correction demands precision, the right tools, and protective techniques to eliminate swirl marks, scratches, and oxidation without risking your vehicle’s clear coat. If you find yourself challenged by persistent paint imperfections or unsure about masking sensitive areas or applying ceramic coatings properly, you are not alone. Many enthusiasts and vehicle owners seek reliable solutions to preserve that showroom-quality gloss while safeguarding their investment.
At Optyx Auto Studio, we specialize in premium paint correction and advanced protection options tailored to your car’s unique needs. With over 35 years of experience, our certified installers utilize top-tier products and meticulous application methods to deliver results that transform your car’s finish to flawless brilliance. From expert paint correction services to professional-grade ceramic coatings and durable paint protection film, we handle every detail with care to ensure lasting shine and protection.
Elevate your vehicle’s appearance and durability today. Visit Optyx Auto Studio now to schedule your consultation and experience a luxury upgrade that truly reflects your passion for perfection.
Frequently Asked Questions
What are the common paint imperfections that can be corrected?
Common paint imperfections include swirl marks, light and deep scratches, oxidation, and water spots. Identify these issues by inspecting the paint surface under bright light and feel for irregularities. Addressing them early will help ensure a smoother and more flawless finish.
How do I properly clean and decontaminate my car before paint correction?
Thoroughly clean your car by using a two-bucket wash method and a clay bar to remove dirt and contaminants. Follow this with an alcohol-based surface cleaner to strip remaining residues. Doing so creates a clean slate for effective paint correction, enhancing the overall results.
How can I protect sensitive areas of my car during the correction process?
Mask sensitive areas such as rubber seals and trim with high-quality automotive masking tape and plastic sheeting. Ensure comprehensive coverage to prevent accidental damage during polishing. This precaution helps maintain the integrity of your vehicle while achieving a flawless paint finish.
What techniques should I use to polish and correct paint imperfections?
Begin with the least aggressive polishing technique using a soft foam pad and a mild polishing compound. Work in small sections with a dual-action polisher, applying consistent pressure in overlapping linear passes. This method gradually removes imperfections while preserving the clear coat.
How can I inspect my results after paint correction?
Inspect your paint finish under various lighting conditions to identify any lingering imperfections. Run your hand across the surface to check for smoothness and uniform reflection. This evaluation allows you to determine if further polishing or refinements are necessary for an optimal finish.
What protective coatings should I apply after paint correction?
After correcting the paint, apply a high-quality ceramic coating or paint protection film to preserve the flawless finish. Follow the application instructions carefully, ensuring even coverage and appropriate curing conditions. This step will enhance durability and keep your vehicle looking its best for years.
Recommended
Comments